


deck construction
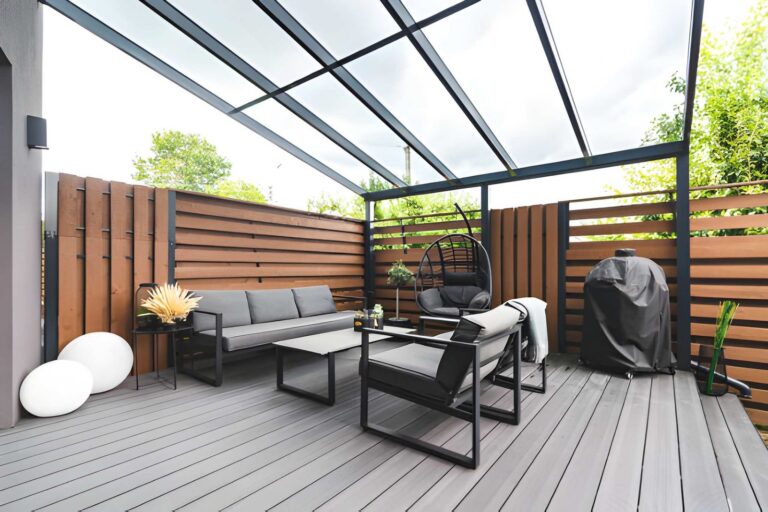
What Does Professional Deck Design Include in Cincinnati?
What Does Professional Deck Design Include in Cincinnati? Empire Home Solutions offers deck design Cincinnati homeowners use before committing to a single board of lumber
deck construction
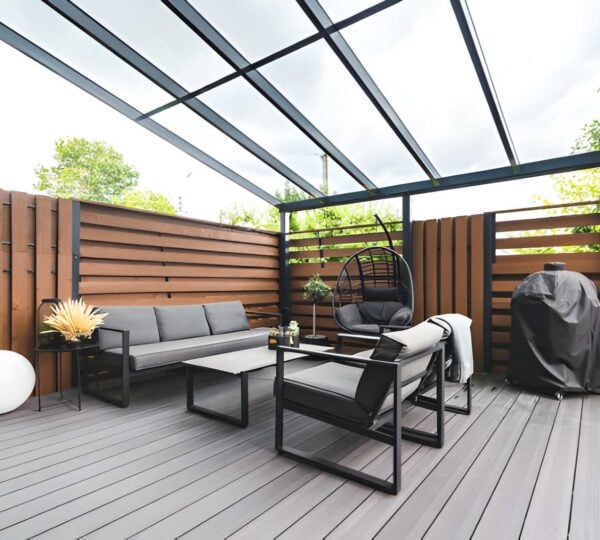
What Does Professional Deck Design Include in Cincinnati?
What Does Professional Deck Design Include in Cincinnati? Empire Home Solutions offers deck design Cincinnati homeowners use before committing to a single board of lumber

patio services
What Is the Best Material for a Patio in Cincinnati?
What Is the Best Material for a Patio in Cincinnati, Ohio? Empire Home Solutions approaches every patio installation Cincinnati homeowners request with the same starting