


Roofing Services
Why Consider Roof Repair & Replacement in Amelia, OH?
Why Consider Roof Repair & Replacement in Amelia, OH? Empire Home Solutions provides professional roofing repair and replacement in Amelia, OH for homeowners throughout Clermont
Roofing Services
Why Consider Roof Repair & Replacement in Amelia, OH?
Why Consider Roof Repair & Replacement in Amelia, OH? Empire Home Solutions provides professional roofing repair and replacement in Amelia, OH for homeowners throughout Clermont
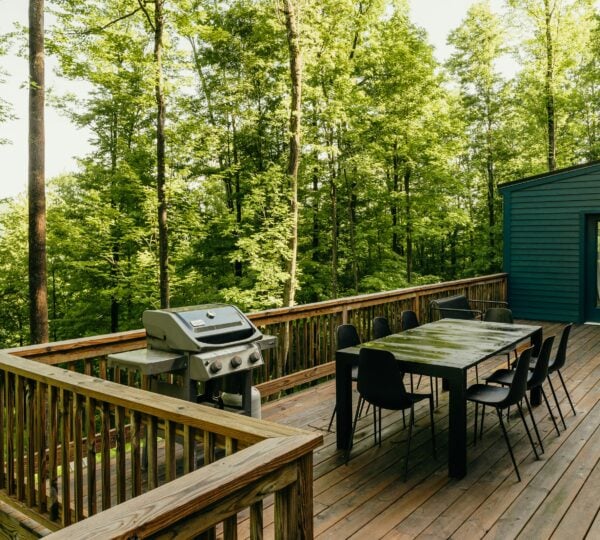
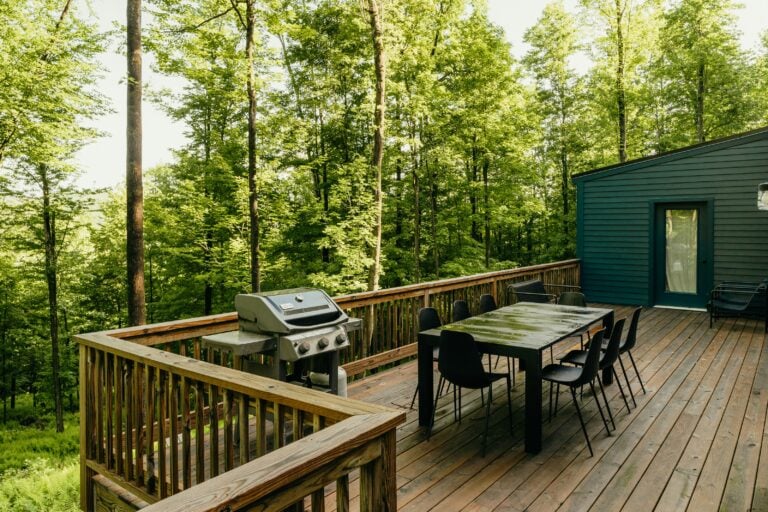
deck and patio contractors
Which is Better: A Deck or Patio for Amelia, OH Homes?
Which is Better: A Deck or Patio for Amelia, OH Homes? Empire Home Solutions is the deck and patio installation in Amelia, OH that Clermont