Residential Concrete Pouring: What Every Homeowner Should Know

Looking for top-notch residential concrete pouring for your driveway, patio, or foundation? You’re in the right place. This is not just about dumping concrete. It’s about doing it right. Carefully. With purpose.

A bad pour shows up quickly. Cracks. Sags. Unevenness. Repairs that cost more than the original job. We’ll avoid that. You’ll get clarity. Real insight. Practical steps.

And here’s why Empire Home Solutions is exceptional: we don’t just pour concrete. We engineer for life. We treat every slab as part of your home’s story. We balance strength, aesthetics, and longevity.

By the end, you’ll know how to:

  • Plan a pour with fewer surprises

  • Ask the right questions of contractors

  • Integrate concrete repair services and decorative options

  • Maintain the slab so it lasts

Let’s dig in.

Key Takeaways

  • What a successful residential concrete pouring really involves

  • How site prep, mix design, and curing determine performance

  • When and how concrete repair services get used (before or after)

  • The interplay with decorative concrete contractor needs

  • Mistakes to avoid and maintenance tips to extend life
residential concrete contractor

What “Residential Concrete Pouring” Means — And Why It’s Tricky

At first glance, pouring concrete seems simple: dig, form, pour, finish, cure. But each step is layered with nuance.

When we talk about residential concrete pouring, we refer to all concrete work done on homes (slabs, driveways, patios, foundations). The expectations are higher: you want durability, smooth finish, minimal cracking, and integrates well with landscape, drainage, or decorative treatments.

Why it’s more complex than commercial slabs

  • More irregular shapes (gardens, curves, design features)

  • Different load patterns (vehicles, foot traffic, planters)

  • Exposure to freeze/thaw, weather variation

  • Integration with decorative surfaces (if you hire a decorative concrete contractor)

If one stage is off — weak base, bad mix, rushed curing — the result degrades fast.

Step 1: Planning & Site Preparation

Soil & Base Work

Solid success starts underneath. Poor soil compaction or drainage = future problems.

  • Remove topsoil, organic matter, roots

  • Compact subgrade in layers

  • Add gravel or crushed stone (4–8 in typical)

  • Ensure proper slope so water drains away

If the ground heaves or settlement occurs, cracks will follow. Even top contractors stress subgrade prep first.

Layout & Formwork

You need formwork (wood, metal) to shape the pour.

  • Brace forms so they don’t bow under concrete pressure

  • Plan where joints will go (control joints, expansion joints)

  • Double-check level, alignment

Utilities & Reinforcement

  • Install rebar or wire mesh (for tension control)

  • Sleeve for plumbing, electrical, drains

  • Confirm embedment depth, cover for frost

Planning sets your foundation. Don’t rush.

Frequently Asked Questions:

Step 2: Mix Design & Ordering

Choosing the Right Mix

Your mix matters. It’s not one size fits all.

  • Strength (psi) depends on use: driveways need more, slabs less

  • Water–cement ratio: less water = stronger, but harder to place

  • Admixtures like plasticizers, air-entrainment (for freeze)

  • Aggregate size: too large aggregate complicates finishing

Ordering & Delivery

  • Order a little extra (10%) for waste, overrun

  • Time it so the concrete arrives when you’re ready to pour

  • Use certified ready-mix suppliers

  • Inspect each load for slump, consistency

Mistakes here bite you later — weak mix, low workability, uneven batches.


Step 3: Placement & Finishing

Pouring & Consolidation

  • Pour close to final location (avoid excess moving)

  • Use vibrators or tools to remove air pockets

  • Keep continuous flow — avoid cold joints

Initial Finishing

  • Screed to level

  • Bull float (or darby) to embed aggregate, smooth

  • Edge and joint tools

Final Finishes

This is where aesthetics or decoration might enter. If you plan to later hire a decorative concrete contractor, this step matters:

  • For overlays or stains, ensure surface is properly prepared

  • Timing is critical: imprinting/stamping, rolling, brushing

  • Don’t overwork; over-finishing can weaken the surface
residential concrete contractor

Step 4: Curing & Protection

Why Curing Matters

Without proper curing, concrete dries too fast. Cracks, shrinkage, weak surface.

  • Keep it moist: wet coverings, curing compounds, sprinklers

  • Duration: minimum 7 days, ideally 14

  • Protect from sun, wind, freezing

Best practices guides emphasize strict curing protocols.

Protection

  • Block foot or vehicle traffic until strength is adequate

  • Shield from rain, chemicals, construction debris

  • Avoid premature loading

Curing is where many good pours fail.


Integrating Repair & Decorative Work

Yes — sometimes you pour, then later you need repairs. Or you want decorative finishes. The good news: you can plan ahead so they integrate.

When Concrete Repair Services Are Needed

  • Cracks, chips, spalling

  • Uneven slabs or settlement

  • Surface defects before decorative overlay

Don’t wait until severe damage. The best contractors assess early and patch before decorative work.

Collaboration With Decorative Contractor

If later you want stamping, staining, overlays:

  • Ensure the base slab is flat and sound

  • Use compatible materials (sealer, primer)

  • Avoid mixing multiple system brands — get consistency

  • Plan for joints, expansion features so they align with the decor

A good decorative concrete contractor will request a clean, stable slab from the pouring phase — not fight defects later.


Common Mistakes & How to Avoid Them

  • Rushing curing — many think once it’s set, they’re done. Nope.

  • Ignoring subgrade compaction

  • Bad mix or wrong water ratio

  • Skipping joints or misplacing them

  • Allowing trades to cross fresh slab

  • Assuming your job is “simple slab” — always plan as if it’s moderate complexity

Learning from others’ mistakes is cheaper than fixing your own.


Maintenance & Lifespan

A well poured residential slab can last 25–50 years — if cared for.

Routine Care

  • Seal surface every few years

  • Clean gently (avoid acid/strong chemicals)

  • Fix small cracks early

When to Call for Repair

  • Cracks widen or grow

  • Surface delamination

  • Uneven settling

Timely concrete repair services can preserve your investment, avoid replacement.


Real Scenarios

Driveway Pour

Heavy loads, exposure, freeze cycles. Use stronger mix, air-entrainment. Carefully place joints. Seal after curing.

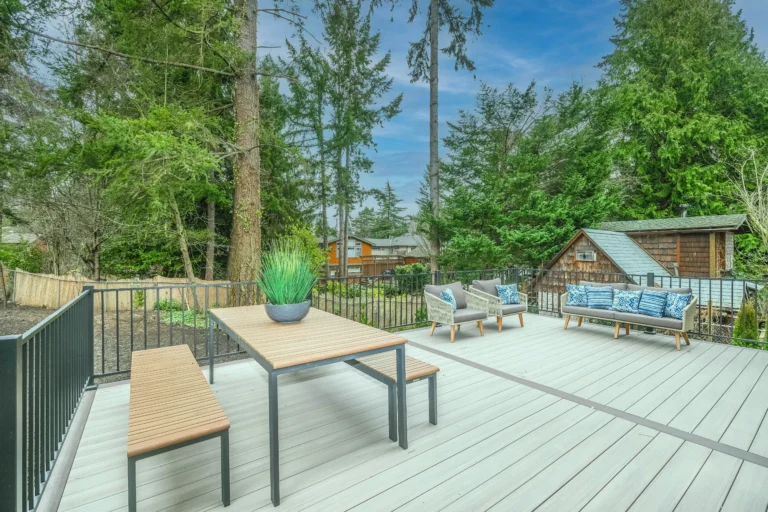
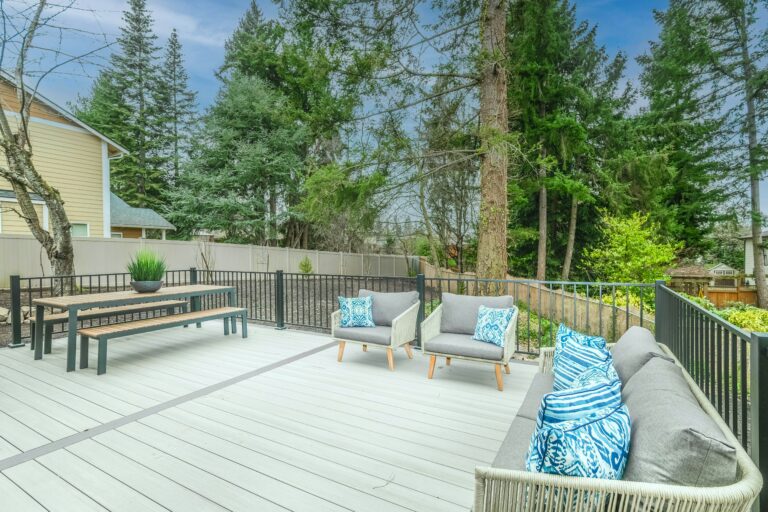
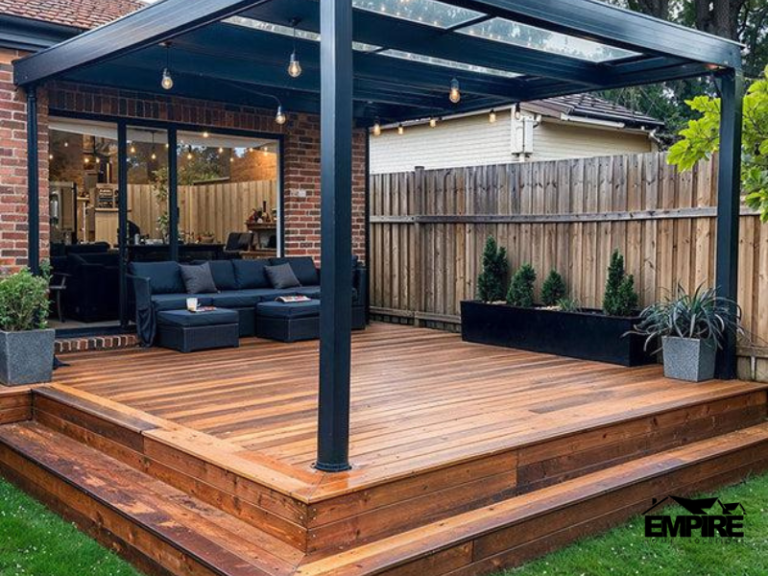
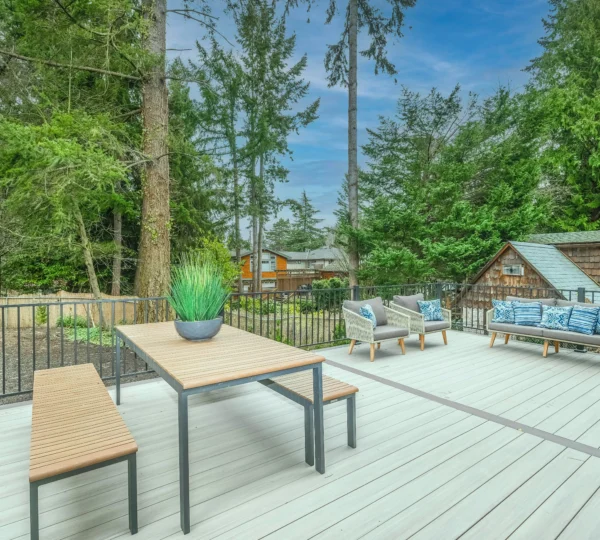
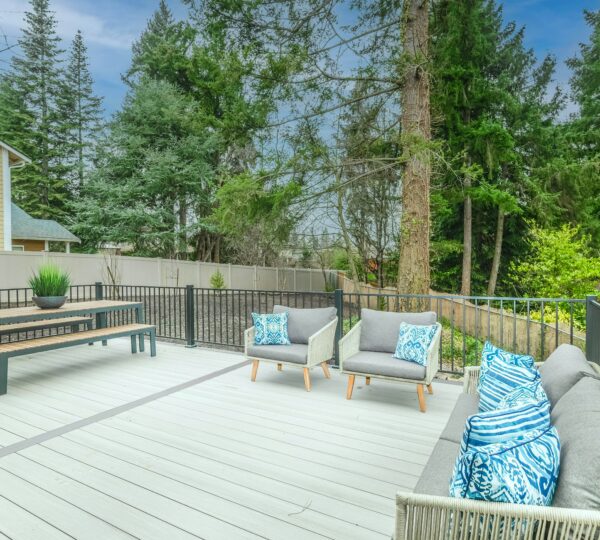
Patio or Outdoor Slab

More design freedom. You might expect decor later. Serve minimal slope (1/8–1/4 in per foot). Friendly mix but still structural.

Seeing how context changes design helps you push contractors to plan smart.


Conclusion

Residential concrete pouring is not trivial. It’s a system: prep, mix, pour, cure, protect. Do any step poorly, and problems show.

You’ve got a roadmap now. You know what to ask. You can better vet contractors — those who do just slabs vs those who build lasting surfaces that can integrate decor or repairs.

If you want that level of quality, you need someone who cares as much as you do about every detail.


Call to Action

Ready to get your slab poured — right the first time? Reach out to Empire Home Solutions for a free assessment and quote. Let’s build something that lasts.

Editor's Pick